GBStudio Prefabs
How to use prefabs in GB Studio
What’s up makina! 🎧
Since GBStudio version 4.1.0, we have a new feature called “prefabs” to help us develop our Game Boy games faster. In this article you will learn how to use them so that you can make reusable scripts / code, which will help you to make your game a lot more organized and speed up your development time in the long run.
We are going to use the original GB Studio template (4-color top-down game) to demonstrate how it works; you can download the resulting project at the end of this article.
I have also made a video tutorial about how to use prefabs here: YouTube
Step 0: Check your GB Studio version
Make sure you are using GBStudio version 4.1.0 or above, On the top menu click on
Help -> About GB StudioIf your version is 4.1.0 or above, you can continue reading; otherwise, download the latest version first from the official website: GBStudio
Step 1: Understanding prefabs
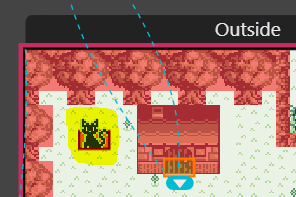
We are going to look at the black cat located on the “outside” scene. You didn’t know, but this female cat was actually pregnant; she gave birth to 3 little kittens.
Now they are all grown up, and we want to spread them across this scene. We could do this by copy-pasting our cat multiple times, but what about if after having our copy-pasted cats we want to change the interacting dialog of all of them to say something like, “I’m now part of a big cat family”?
We would have to go cat by cat and change each script manually.
That’s why prefabs came to rescue our cats!
We are going to create a single cat prefab so that if we modify it, all our cats will be modified as well.
Step 2: Create a cat prefab
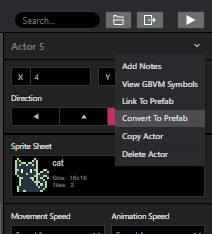
Click on the black cat of the “Outside” scene. Then click on the drop-down arrow next to the cat properties and select “Convert to prefab”.
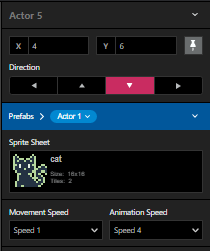
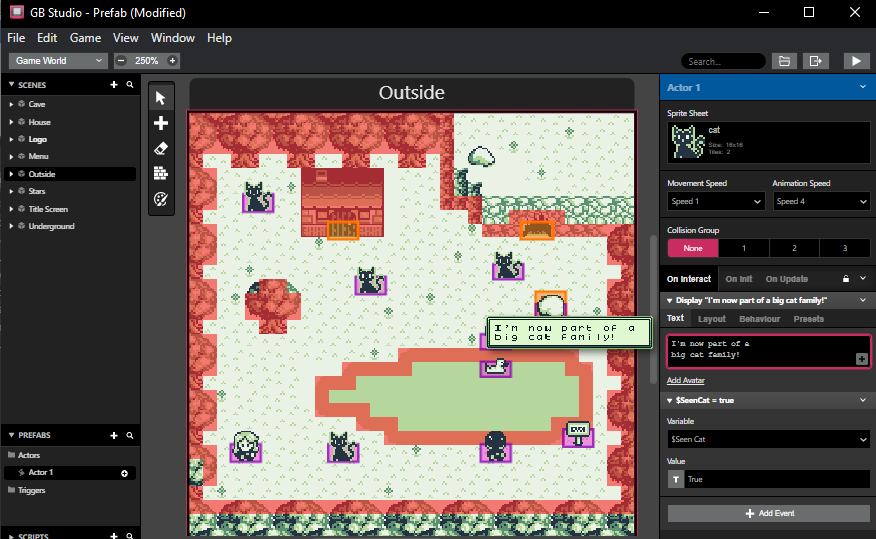
As you can see, there is now a blue section in the properties of our cat with the prefab information, showing this cat is now an instance of the prefab “Actor 1”.
Great! We have created a cat prefab and one instance of it!
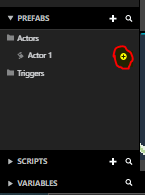
Let’s create 3 more instances of our cat prefab. On the bottom left of the screen you will find the PREFABS section; click on the drop-down arrow to expand its content.
The name of our cat prefab is “Actor 1,” so click on the + icon and then click somewhere in the “Outside” scene to create 3 more cats.
Finally, if we select the “Actor 1” in the prefab section and change the interact text to “I am now part of a big family,” we are modifying the cat prefab. So this change will apply to all instances of our cat at once ✌
You can download this demonstration project from here:
Do not stop the party!
”Knowing what must be done does away with fear.” - Rosa Parks